
I decided recently to utilize my childhood seashell collection and decorate our apartment's bathroom. I know that the whole nautical thing is way overdone but with my own spin I think I can make it work. There will be a longer and more involved post later with before and after photos but for now I am breaking down my progress into smaller posts since there is a lot of smaller elements involved.
One of the elements that I wanted to include was a pirate flag but after buying the flag and opening it I found that I didn't like the feeling it brought to the room. It honestly felt like something for a play or to hang over the track lighting in my college dorm room. I realized that this was due largely in part to the flag's condition. It was folded and creased and flat and shiny and new, not what a pirate flag should look like so I decided to age it. Whether you need a ratty looking flag for an awesome school play, want to help yours along before you hang it outside or maybe you have a reenactment to get to and just don't have the 50 years it takes (and a war) for your flag to look accurate. well then this is for you!
Supplies:
1) Flag: $5.99+Shipping: I used a more traditional pirate flag which I purchased from Amazon at http://www.amazon.com/Pirate-Jack-Rackham-Printed-Polyester/dp/B0013NRY66/ref=pd_ys_iyr3 You will want to use a nylon based flag, I'm not sure this would work with other materials.
2) Cinder Block: $1.00: Purchased from Home Depot
3) Scissors
4) Iron
Time Spent:
1-2 hours
Process and Progress:
When I opened the bag and laid the flag out it looked like this:
 Like I said, uniformly creased, shiny and new. I knew I wanted it to look weathered so what makes a flag look old? Stressed fabric, holes, and smudges! I decided to stress the fabric by utilizing a cinder block we had from prior craft experiments, I find it's handy to keep one out on our deck for various uses.
First up I decided to get rid of the folds from the packaging (yes, I wanted it to be creased and messed up but not uniformly!) so I ironed it. Use a low setting and honestly if you burn it that's okay. First I ironed the flag flat then rolled it up and applied heat randomly to make ceases for use later.

Now that the creases were out of the material it was time to get to work with the cinder block. The idea here is to stress and wear the fabric, it will tear and you will poke holes, this is what you want. What I did was I applied pressure and raked the flag across the face of the brick repeatedly.
 This is more of a concept shot to show you the basic idea. In reality you will need to hold the material on either side and apply some force to it as shown below. Grab two handfuls and rub it back and forth until you see the fabric stress and pull. This will give you the desired "used" look.
 You will want to do this on the side you want facing outwards and you will want to repeat this back and forth on all parts of the flag for quite awhile. The nylon material will be tough and you will want to not miss a spot or it will be very obvious. As you work you will start to develop holes especially if you pull it across a corner of the brick.
 This is okay though because you want some holes. Do keep in mind that if you intend to hand it outside the holes will be widened and exasperated with any forceful wind. I made holes throughout the flag purposefully to give it character.
 Here's a closeup of the face:
 Now that the body of the flag is aged I wanted to add the tattered end look to the flag so I tore different length holes in the flag's edge as shown utilizing the corner of the brick to tear the nylon.
 Notice the strip to the right of the tears, that's where my I held my hand in order to apply the tearing pressure. Now cut that strip off as shown below.
 Lastly I took the flag in bunches and rubbed it on the face of the brick to exaggerate the holes and fray them out a bit more. This is an important step because it will really make the holes look tattered and you will want to especially focus on the edge you just created.
 And there you have it! Mine turned out really good. The key is to really work it against the brick and to add the right amount of holes to the face.
 The last bit of work against the brick also added a nice third dimension and texture to the flag which I will notice because it's going to be hung on a wall.
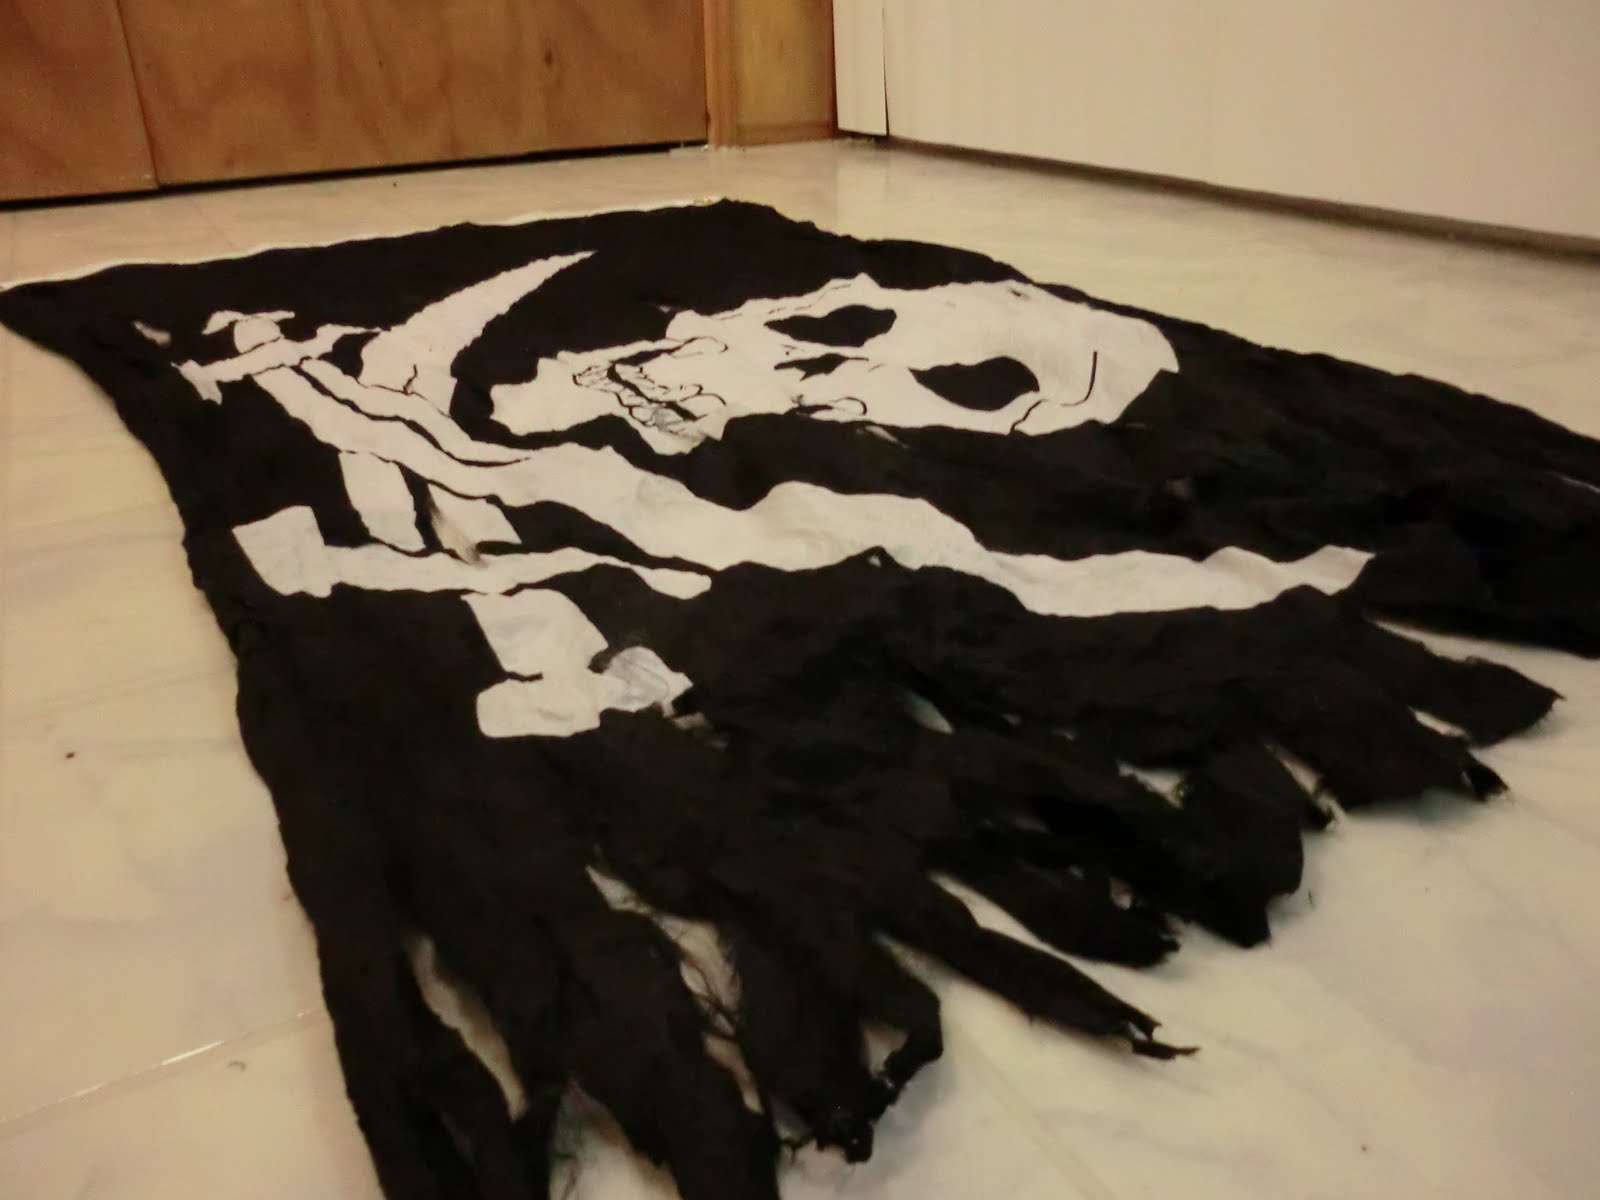 Now weigh anchor and hoist the mizzen! ;)